Field guide · No. 09 · Exterior timber

Prep timberbefore you stain

A stain finish only lasts if the timber underneath is ready for it. Get the prep right and the stain penetrates evenly and protects for years through Canberra's hot summers and frosty winters.

Skill levelBeginner
Active timeHalf a day
ThenLet it dry
StepsFive

Most stain jobs that fail early didn't fail because of the stain — they failed because of what was underneath it. Dirt, weathered fibres, trapped moisture and a fine film of dust all stop the stain bonding to the wood.

Proper preparation is the whole secret. Clean it, sand it, de-dust it, and time it for the right weather. The five steps below get the timber into the state where stain can soak in deep and wear evenly.

01
Start with a clean slate

Clean the timber

Strip back dirt, mould, mildew and any loose or peeling finish with a quality timber cleaner or deck wash. Work it in with a stiff brush, then rinse thoroughly.

Let the timber dry completely before you move on — surface that looks dry can still hold water in the grain.

The trick

Never stain over dirty or mouldy timber. Contaminants sit between the stain and the wood and stop it bonding, so the finish lifts within a season.


Cleaning exterior timber with a timber cleaner and brush
Fig. 01Wash, rinse, dry
02
Open up the grain

Sand the surface

A light sand removes weathered fibres, smooths rough patches and opens the grain so stain can soak in rather than sit on top. Start coarse to cut back the surface, then finish finer for a clean feel.

Start · 80–100 grit Finish · 120–150 grit
The trick

Always sand in the direction of the grain, never across it. Cross-grain scratches show up dark and uneven the moment the stain goes on.

Person sanding exterior timber with an orbital sander
Fig. 02Coarse, then fine · with the grain
03
Don't skip this one

Remove the dust

Vacuum or brush away every trace of sanding dust, then wipe the timber down with a clean, dry cloth. A dust-free surface lets the stain absorb evenly across the whole board.

The trick

Even a fine, near-invisible layer of dust changes how the stain takes. Run a bare hand over the timber — if it comes away powdery, wipe again.

Vacuuming sanding dust from a timber deck
Fig. 03Vacuum, then wipe
04
Patience pays here

Make sure it's dry

Timber has to be properly dry before any stain touches it. Staining after rain — or while moisture is still trapped inside the wood — locks that water in and weakens adhesion and durability.

The trick

Wait at least 24–48 hours after rain before staining, longer in cold or humid conditions. A cheap moisture meter takes the guesswork out entirely.

Checking moisture levels in exterior timber
Fig. 04Dry through, not just on top
05
Time it for the weather

Choose the right day

Apply stain on a mild, dry day. Steer clear of direct sun, scorching-hot surfaces, freezing temperatures and any rain in the forecast — and follow the stain manufacturer's recommended application temperature range.

In Canberra that usually means a still, overcast morning in spring or autumn rather than the peak of a summer afternoon.

The result

Good prep plus the right weather lets the stain penetrate deeper, wear more evenly and last far longer through Canberra's changing seasons.

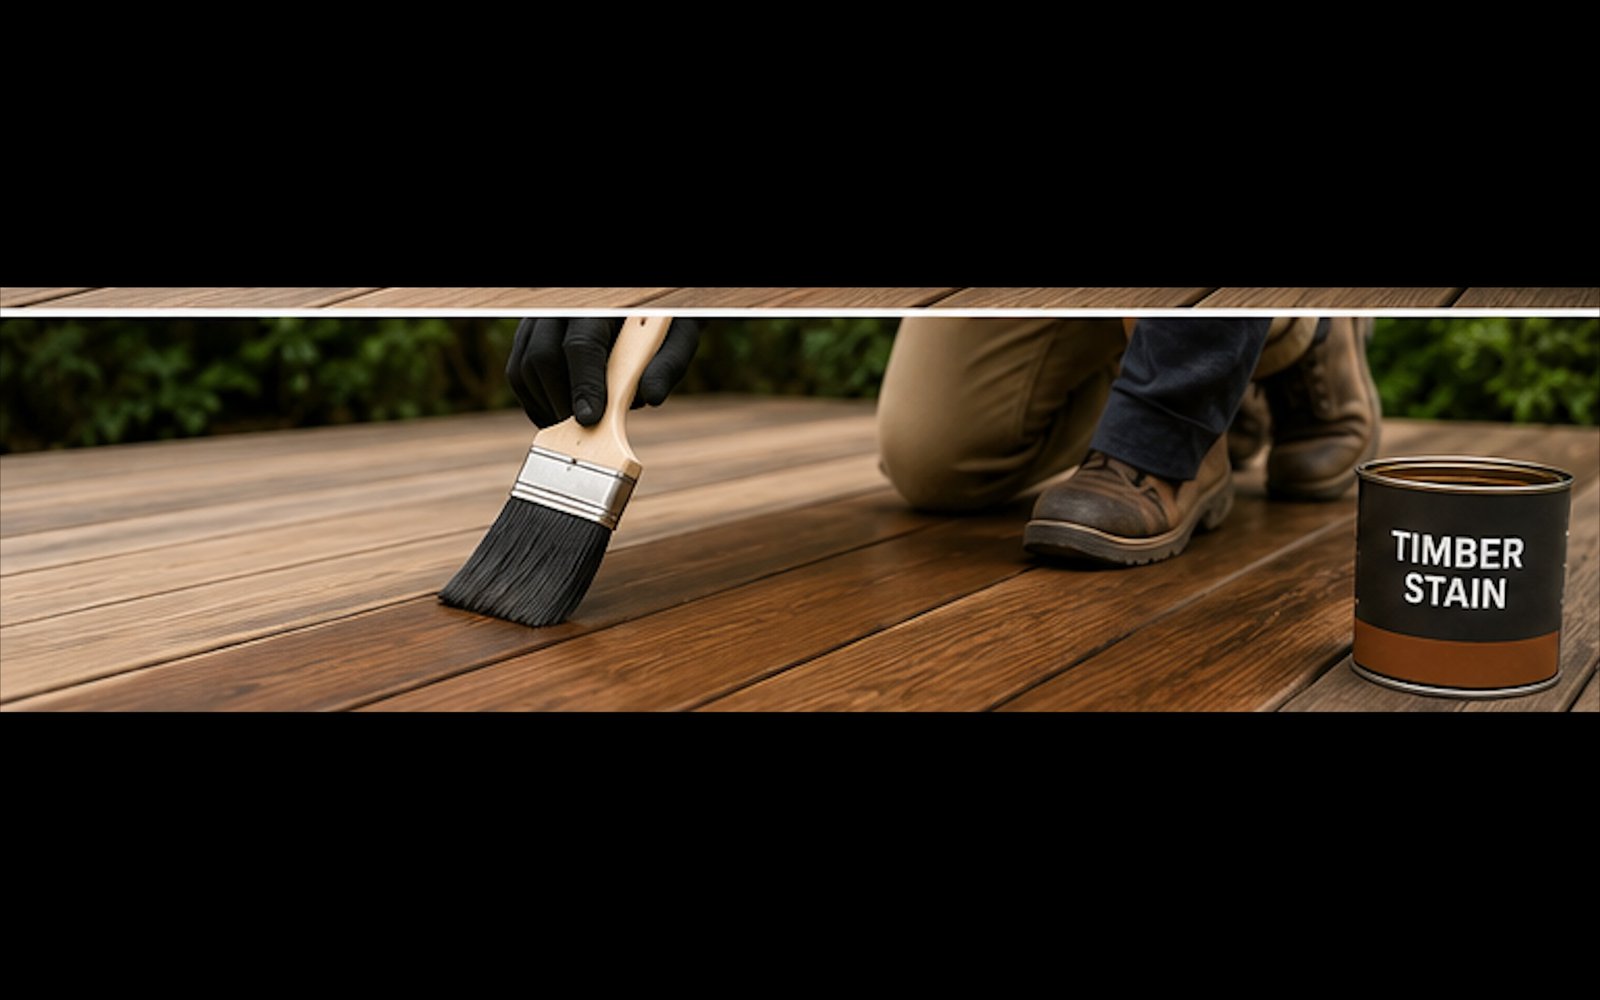
Applying timber stain on a mild sunny day
Fig. 05Mild, dry, out of direct sun

Ready-to-stain check

// Tick all five before you open the tin.

Rather have a pro handle it?

Fences, decks and outdoor timber done right — The Helpful Bloke covers prep, staining and painting across Canberra & ACT, from $85 per panel, free quote up front.