Field guide · No. 08 · Home plumbing

Stop thatannoying drip

A dripping tap is almost always a worn washer — a cheap part and a ten-minute fix. Here's how to do it cleanly, in order, without a plumber.

Skill levelAnyone
Time10–20 min
CostA few dollars
StepsFive

That steady tap… tap… tap isn't just annoying — a single dripping tap can waste thousands of litres a year. The good news: in most homes the cause is a worn rubber washer or O-ring, and replacing one costs less than a coffee.

The trick is doing things in the right order and turning the water off first. Work through the five steps below and you'll have it sealed and silent.
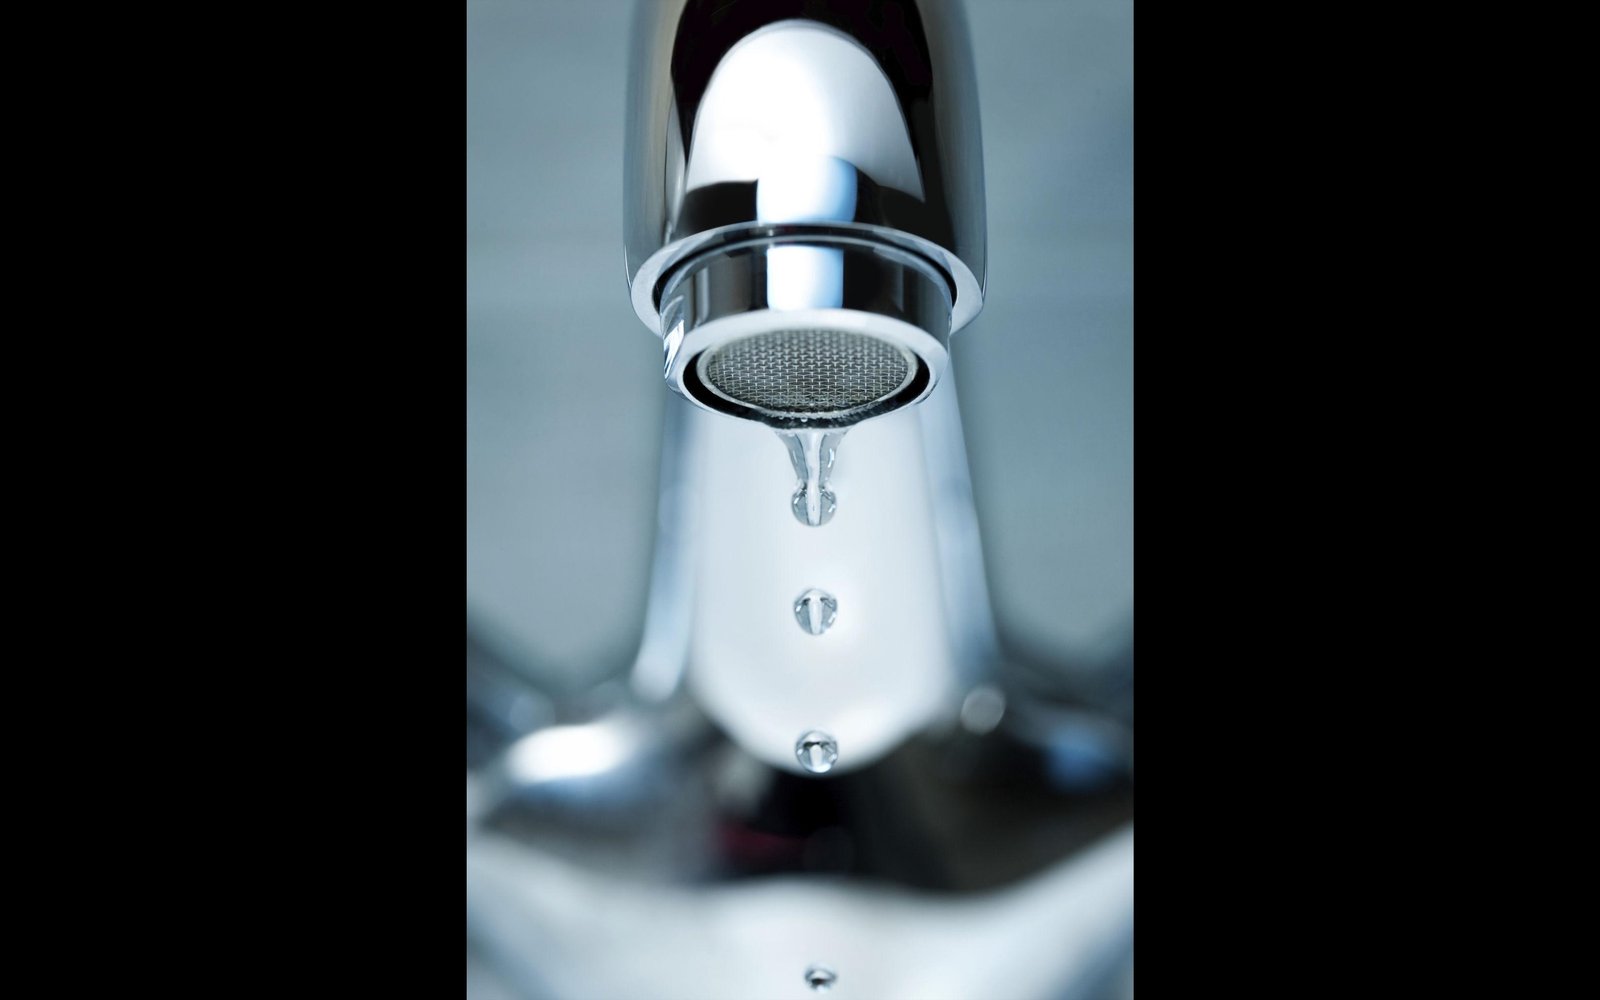
Dripping kitchen tap
Fig. 00The culprit: a steady drip
Diagnosis · why it drips

Common causes

  • Worn rubber washer Most common
  • Damaged or cracked O-ring
  • Worn or pitted valve seat
  • Loose tap components
Kit · what to grab

Tools you'll need

  • Adjustable spanner
  • Flat-head screwdriver
  • Replacement washer
  • Replacement O-ring Optional
  • Plumber's grease Optional
  • Small cloth or rag
01
Do this first — always

Turn off the water supply

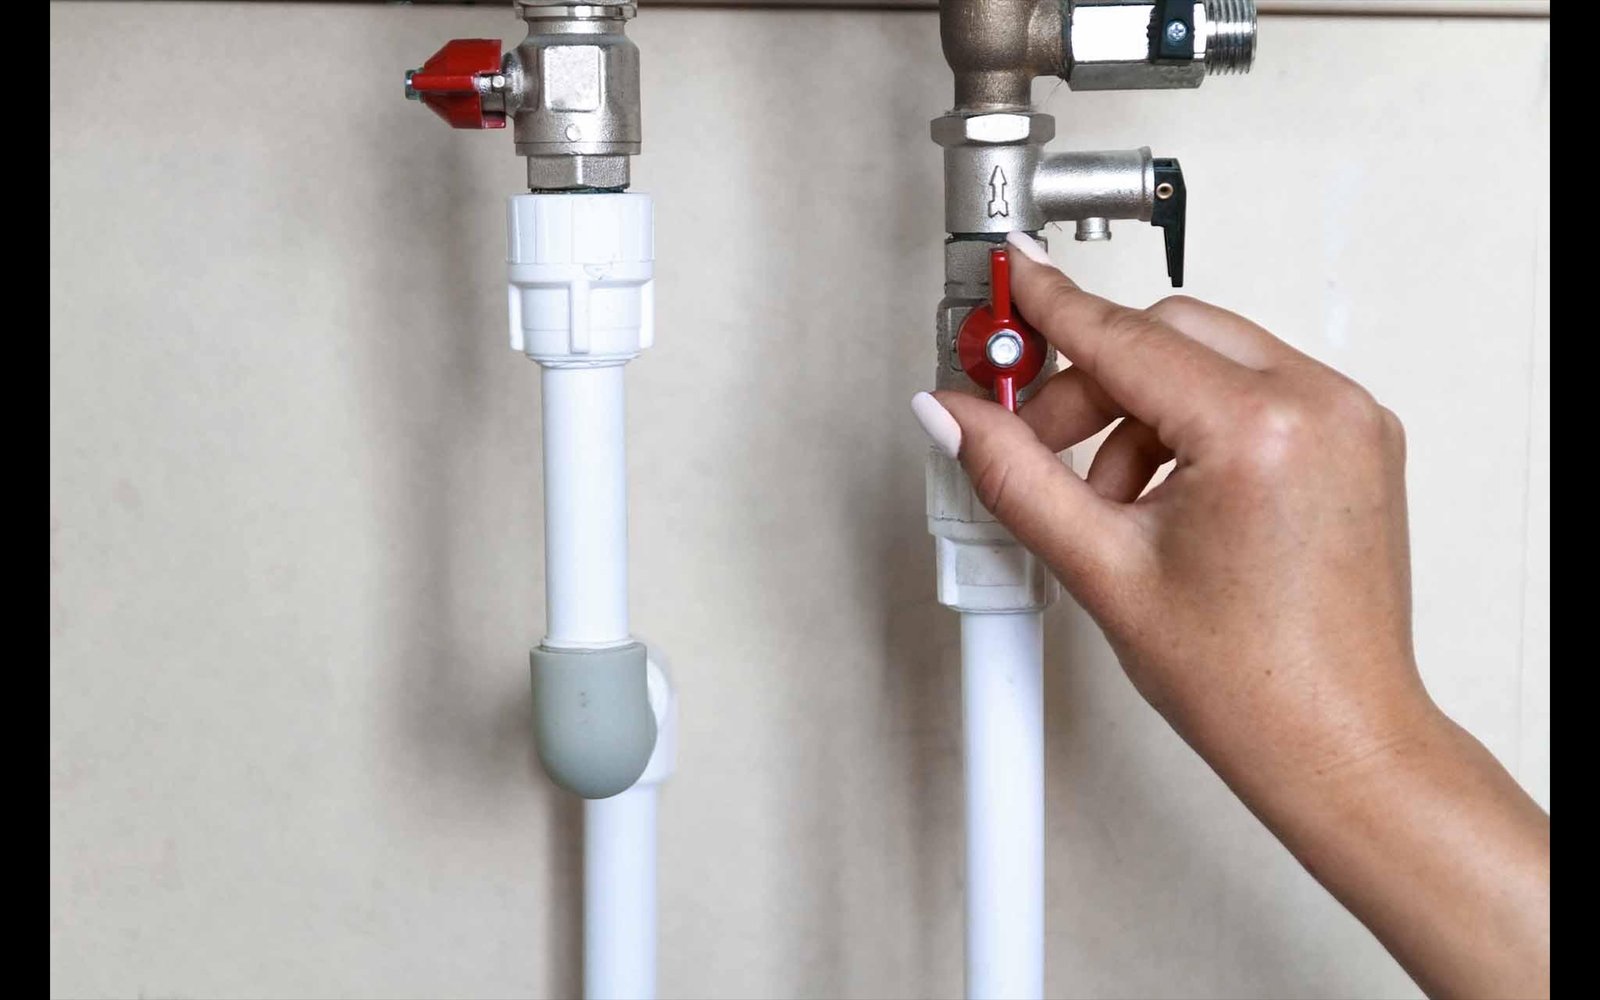
Find the isolation valve on the pipe under the sink and turn it clockwise to close. No isolation valve? Shut off the main water supply for the house instead.

Then open the tap and let it run until it stops. That drains the pressure left in the pipe, so nothing sprays you when you take the tap apart.

The trick

Plug the drain or lay a cloth over it before you start. Tap repairs involve tiny screws and washers, and a plughole swallows them instantly.

Turning off the water supply
Fig. 01Water off, then drain
02
Get inside the tap

Remove the handle

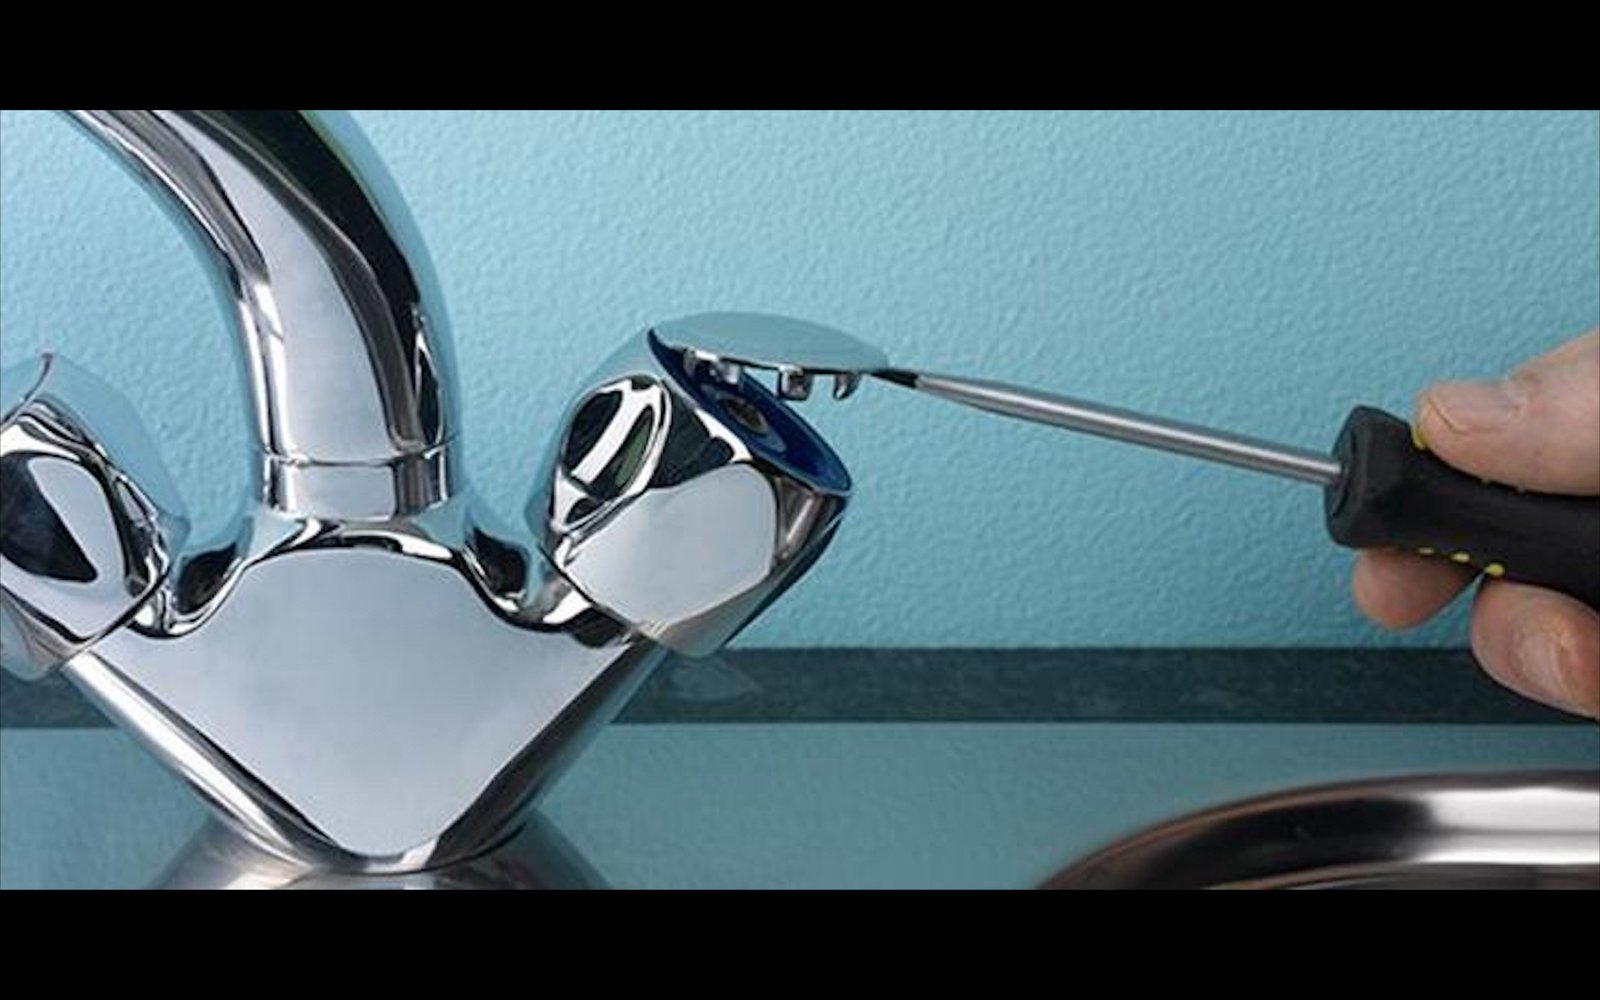
Most taps hide the screw under a small decorative cap on top — often marked hot or cold. Gently pry it off with a flat-head screwdriver, working around the edge so you don't scratch the finish.

Underneath is a retaining screw. Undo it, then lift the handle straight up and off. If it's stuck from age, a little wiggle usually frees it.

The trick

Lay every part out in the order you remove it, left to right. Reassembly is just the same line read backwards — no guessing what goes where.

Removing the tap handle
Fig. 02Cap off, screw out, lift
03
Out comes the valve

Unscrew the spindle

With the handle off you'll see the spindle — the brass valve body that screws down into the tap. Fit your adjustable spanner snugly onto its hex nut and turn anticlockwise to loosen.

Once it's free, lift the whole spindle out. The worn washer you're hunting is fixed to the very bottom of it.

The trick

Wrap a cloth around the chrome before the spanner touches it. The cloth grips and stops the jaws leaving scratch marks on a visible finish.

Removing the tap spindle
Fig. 03Cloth on, then anticlockwise
04
The actual fix

Replace the washer

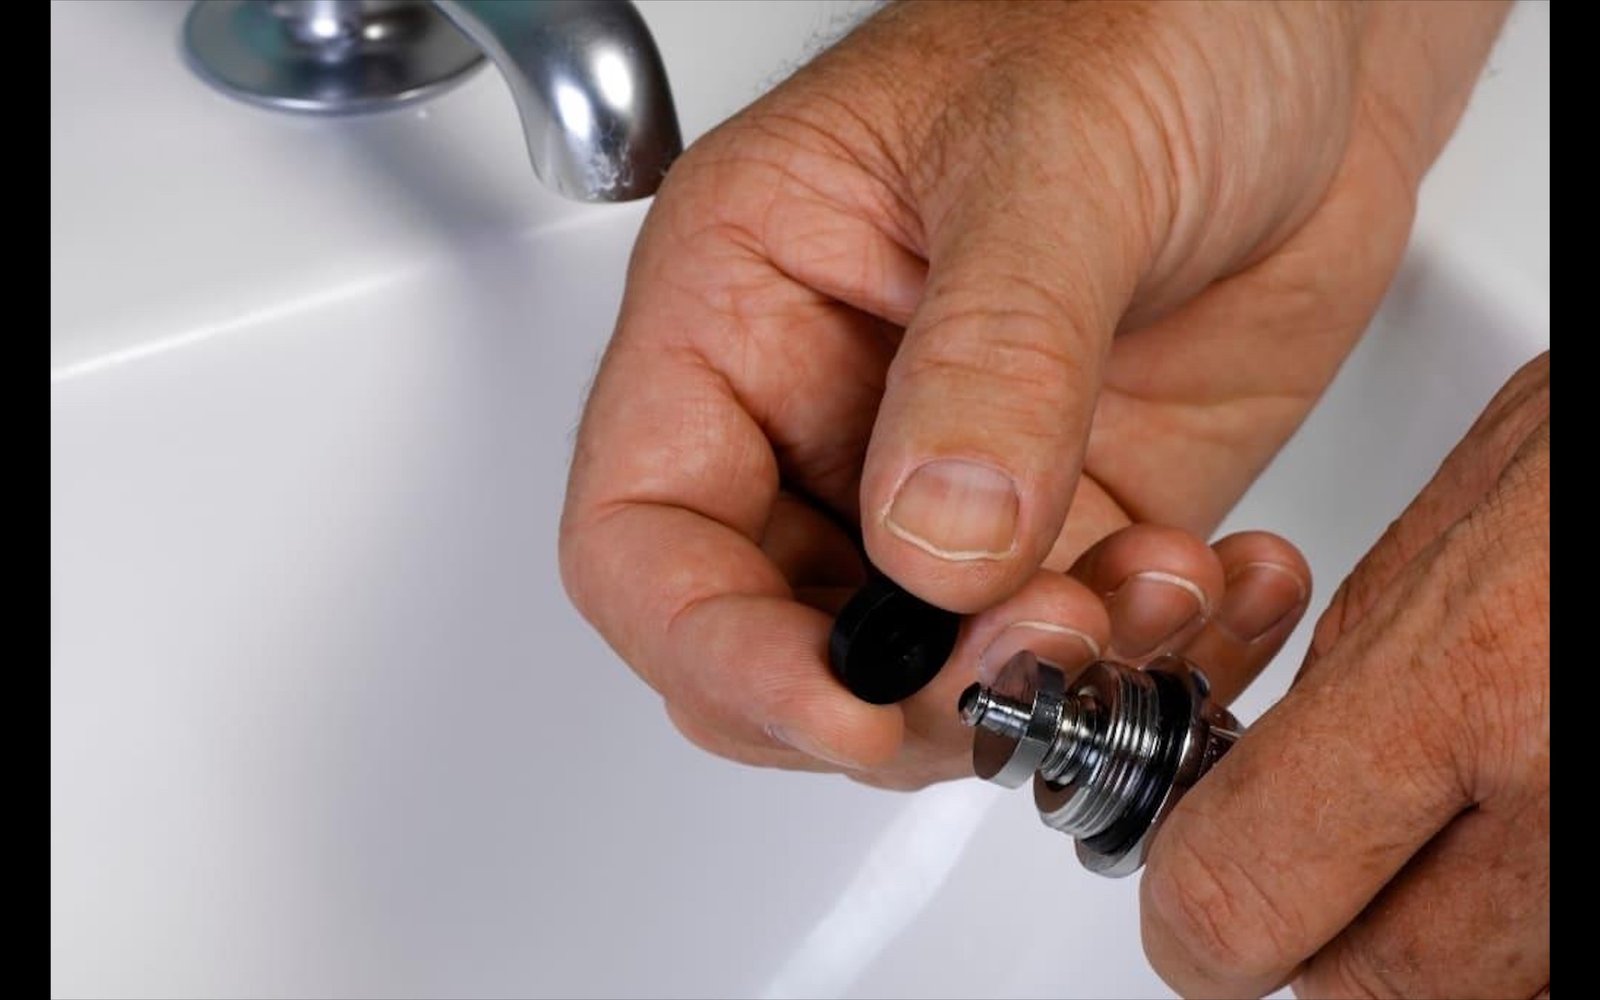
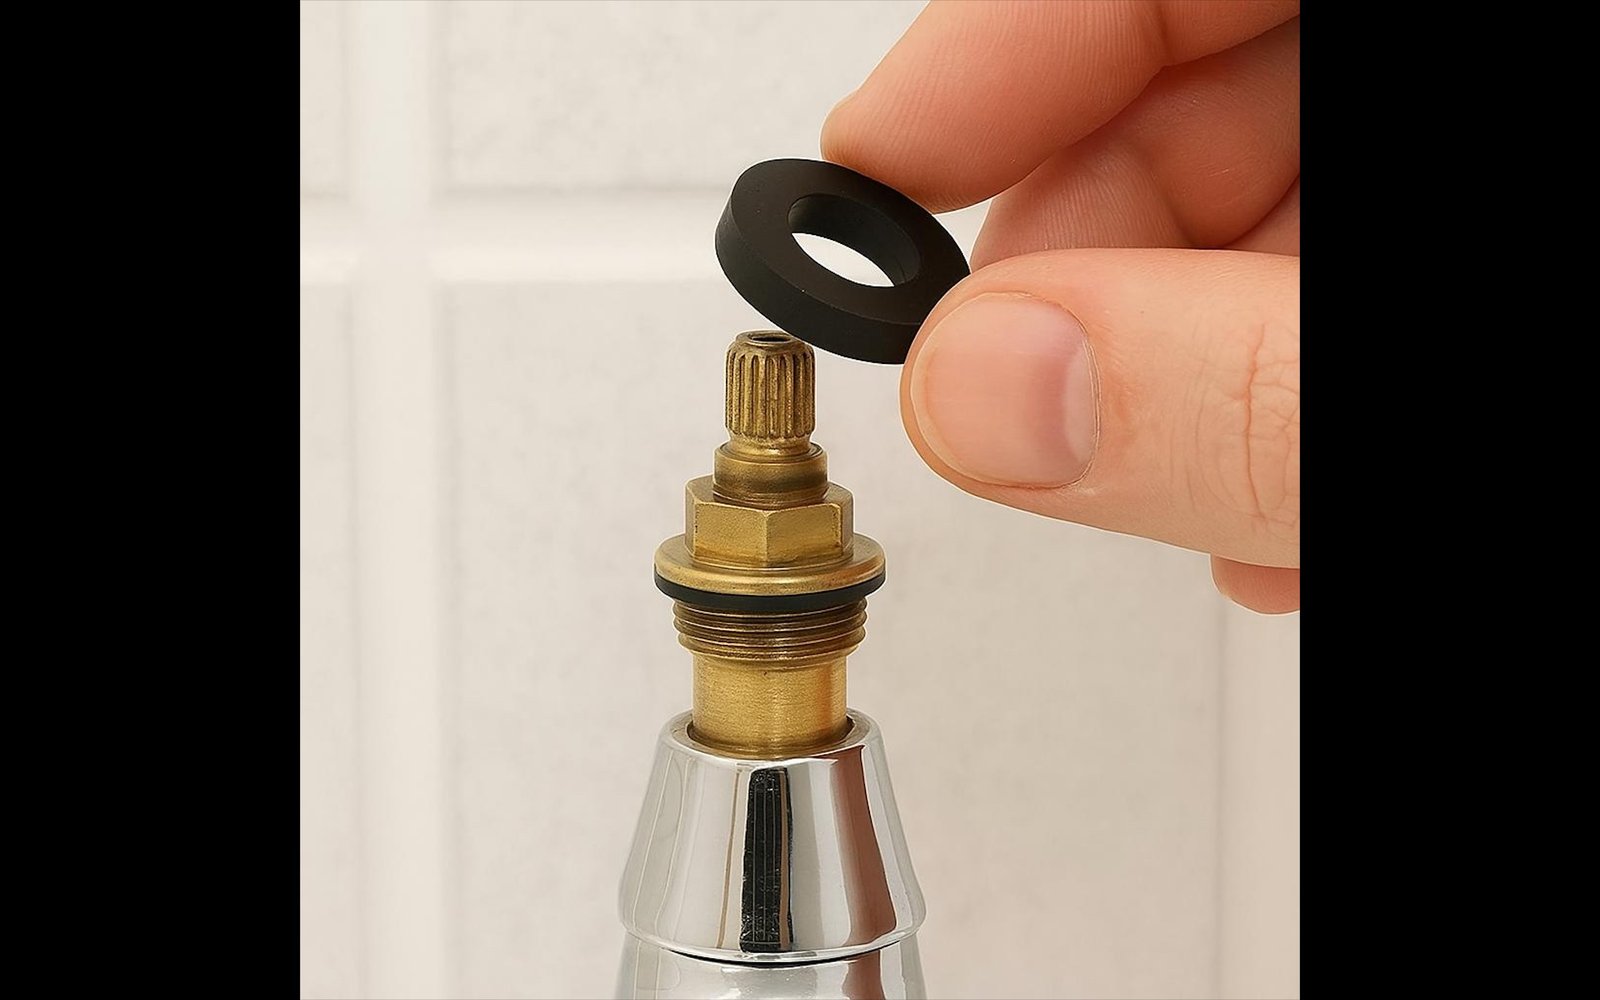
At the base of the spindle is the rubber washer, usually held by a small nut or just pushed on. Pick off the old one and fit a new washer of the exact same size. While you're there, check the O-ring around the spindle — if it's cracked or flattened, replace that too.

A smear of plumber's grease on the O-ring and threads helps everything seal and turn smoothly for years.

The trick

Take the old washer to the hardware store and match it exactly. Washers come in several sizes, and a close-but-wrong one will start dripping again within weeks.

Replacing the tap washer
Fig. 04Match the size exactly
05
Back together & test

Reassemble and check

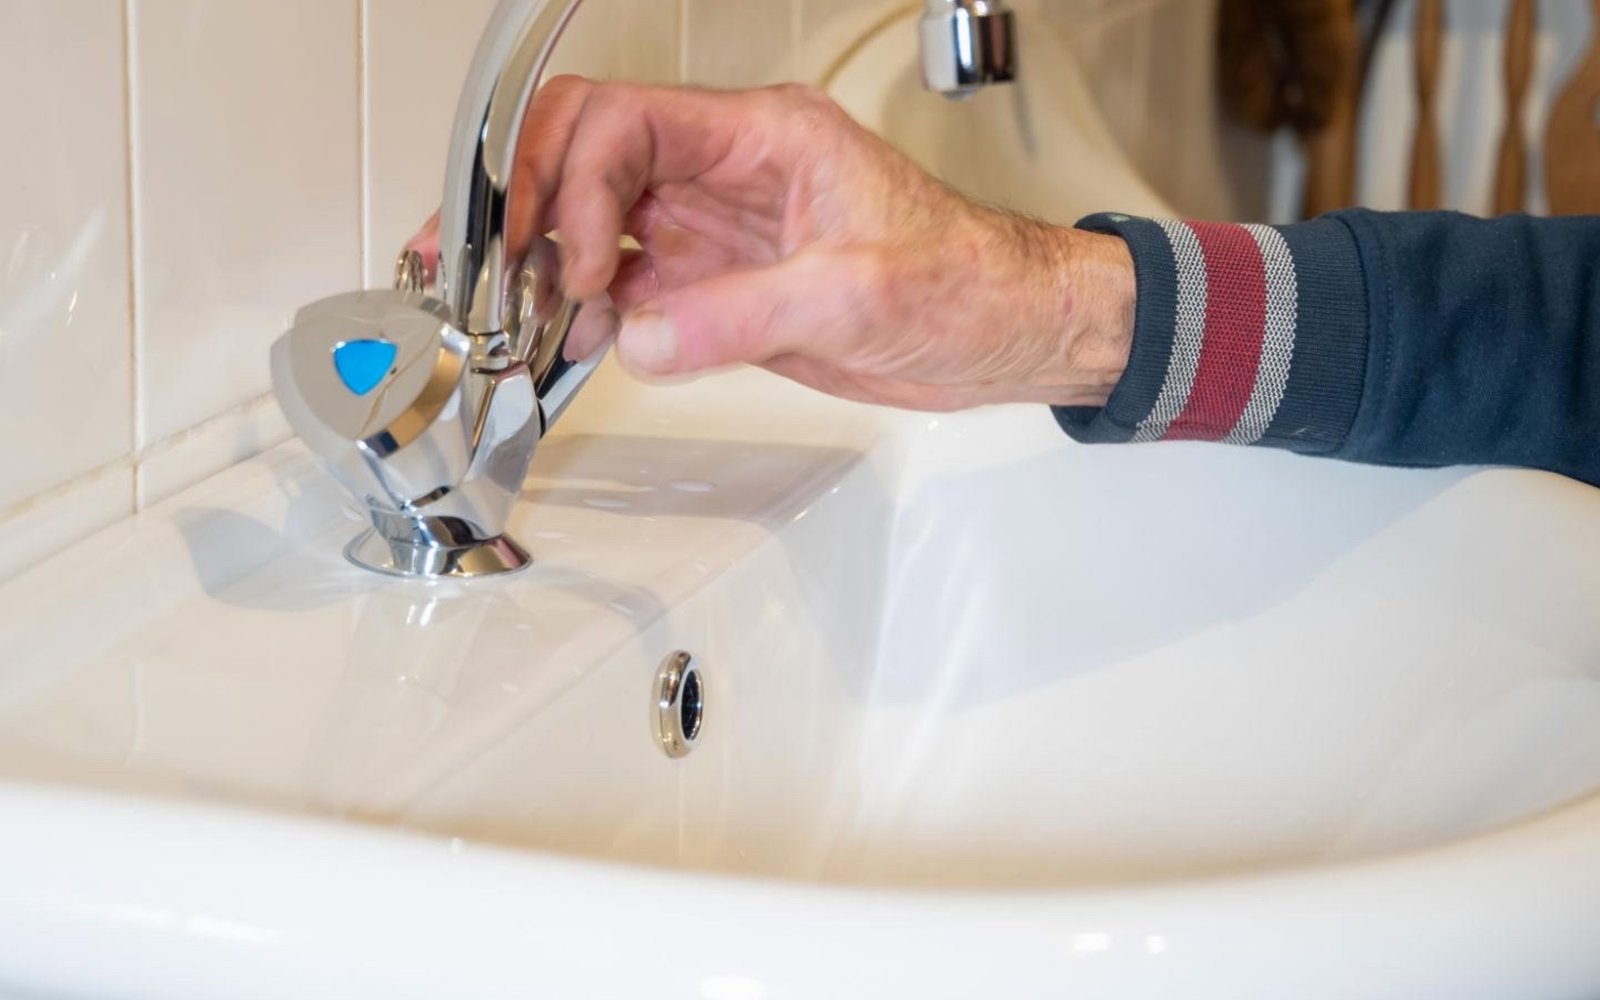
Work back through your line of parts in reverse. Screw the spindle in hand-tight, then just nip it firm with the spanner — don't overdo it or you'll crush the new washer. Refit the handle, the retaining screw and the cap.

Turn the isolation valve back on slowly, then run the tap. Let it flow, then shut it firmly and watch the spout for a full minute. No drip means you're done.

The trick

Open the tap before you turn the water back on. Air escapes first instead of hammering the pipes, and you avoid the bang and sputter of trapped air.

Testing the repaired tap
Fig. 05Run it, shut it, watch

If it still drips

// New washer in and still leaking? Work down this list.

Drips from the spout
The valve seat inside the tap body may be pitted or corroded, so the new washer can't seal against it. Resurface it with a valve-seat reseating tool.
Leaks around the base
Usually a tired O-ring on the spindle. Replace it and add a light smear of plumber's grease before refitting.
Still no luck
If the tap body itself is badly worn, replacing the whole tap is often the most cost-effective fix — and a fair point to call a plumber if you'd rather not.

Rather have a pro handle it?

If the leak keeps coming back or the tap body's worn out, The Helpful Bloke covers tap repairs across Canberra & ACT — from $120, free quote up front.